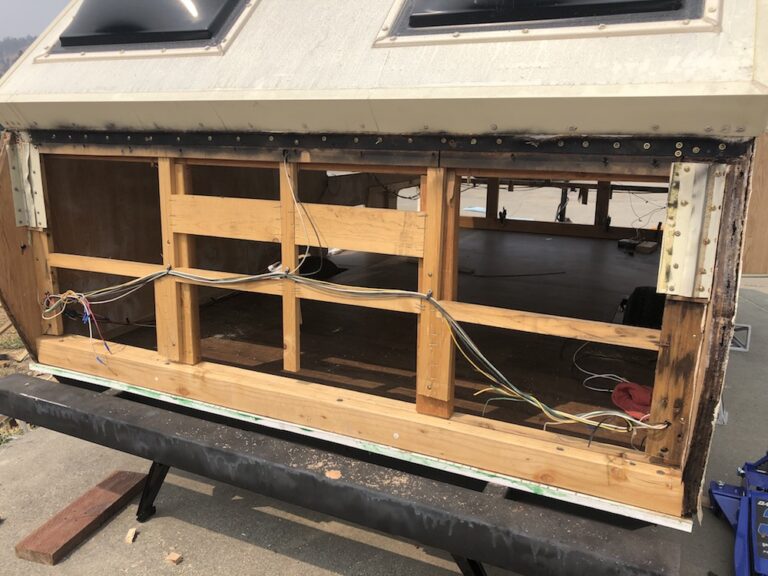
Side Walls
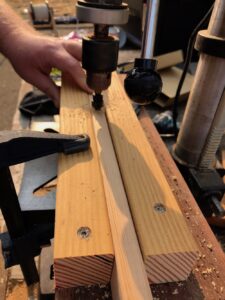
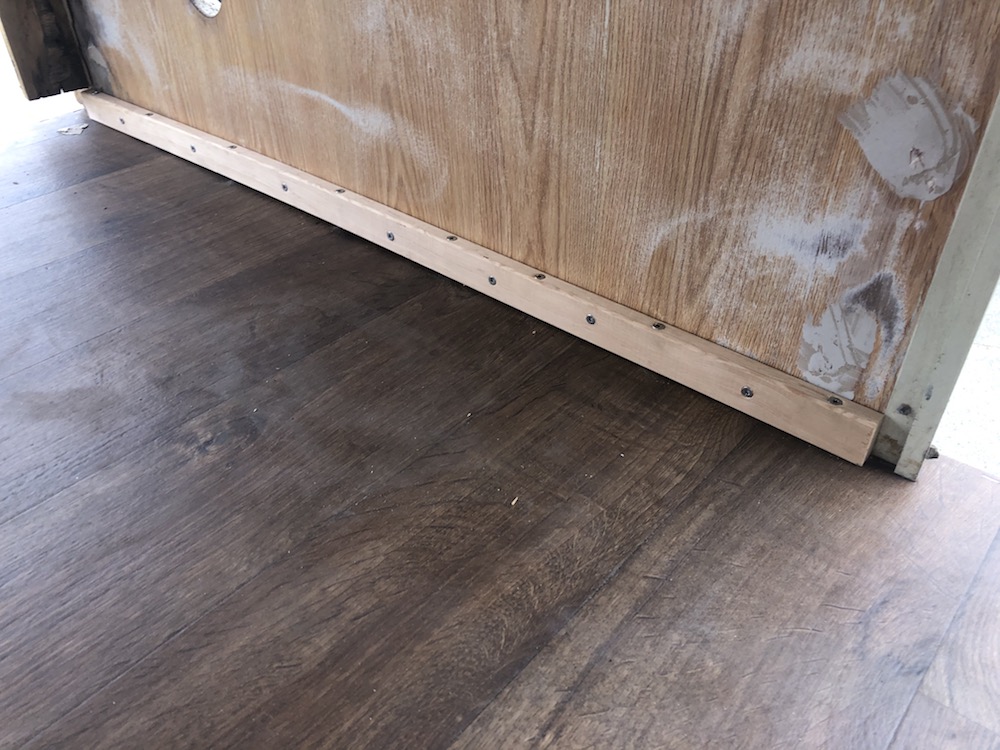
We returned to our property only four days later to find that the floor had cured beautifully. It felt soft underfoot but not squishy like before. My husband set up the drill press with a jig and we cut and pre-drilled several sections of 1×2 lumber to use as attachment rails. Right now the trailer box is just sitting on the floor and we need to secure it. The trailer is also definitely out of square as the roof is all wonky and we can see light in places we shouldn’t. The door also doesn’t latch at all, and barely did when we bought it. We are well into fire season now and the winds are going to pick up. We need to get this thing square, secure, and closed up for the next few weeks at least. We attached the 1×2’s as best as possible by screwing them down into the floor, and into the side walls. The screws going into our new floor were great, but the walls are mostly styrofoam so though they grabbed the laminate wood layer they would spin once in very far.
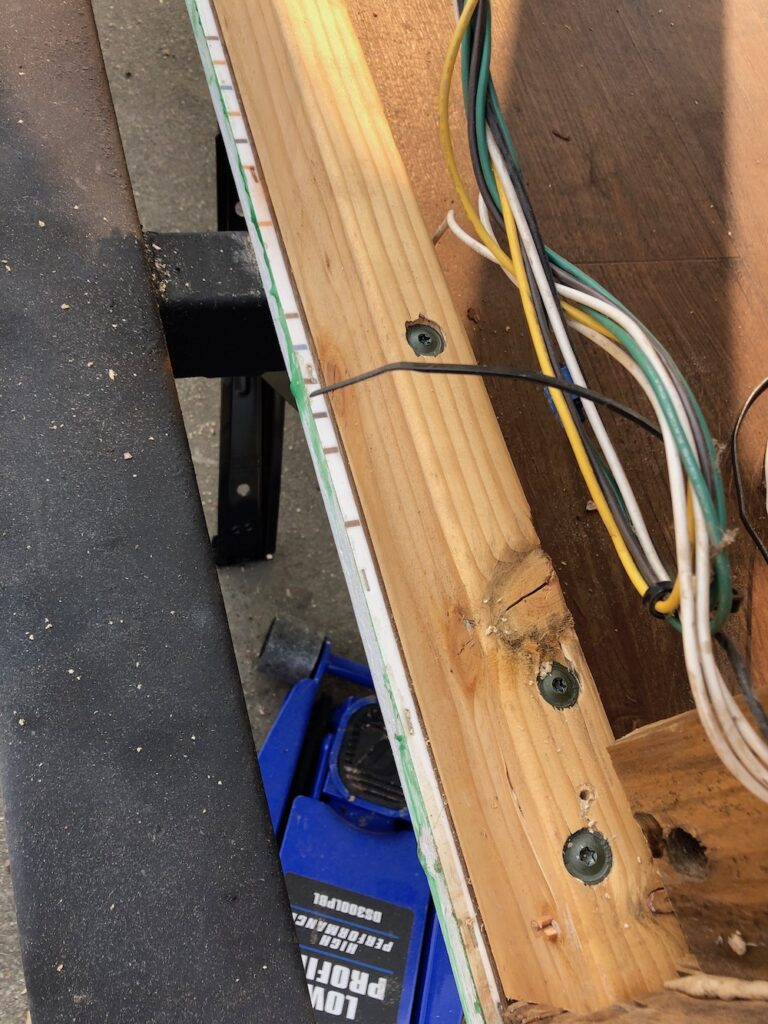
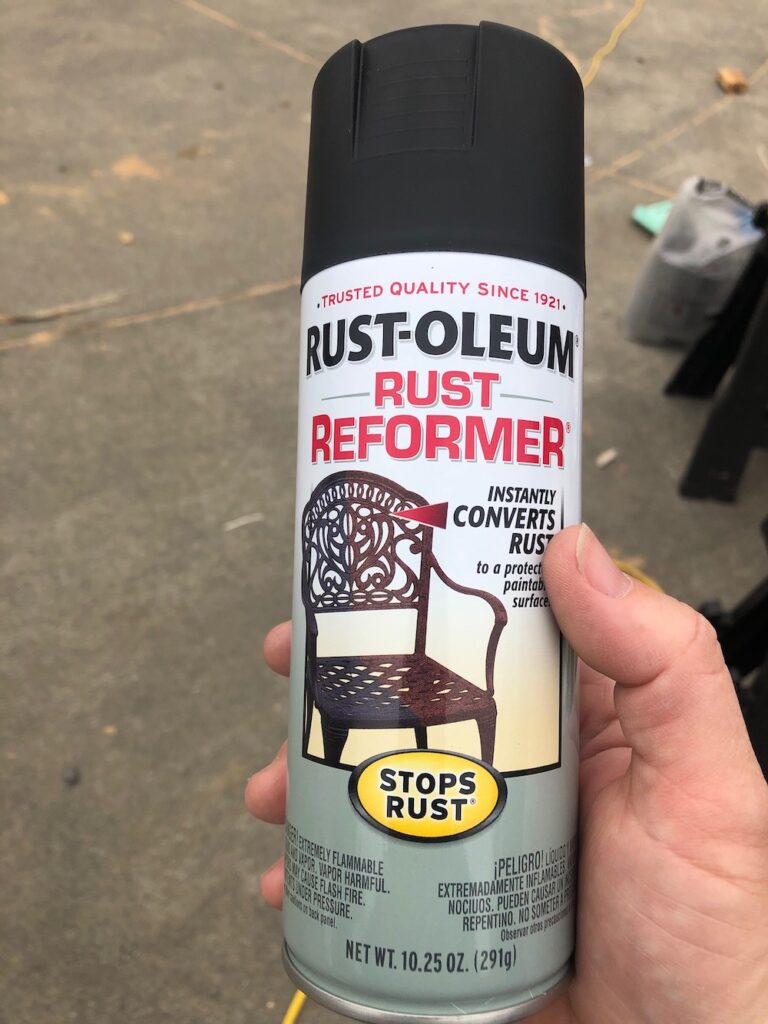
The rear wall had the most water damage of the whole trailer and though the wood hardener we used a few weeks ago helped a little, we need more structure. We place a 2×4 along the back edge of the trailer and sank some huge screws through it to create a square and strong support. We then added two screws on either side – driving them in from the outside into the end of the 2×4. It was shocking to watch the trailer straighten itself up with just those screws. The hinges that hold the roof to the end of the trailer and allow it to fold were in pretty bad shape, but we had no intention of removing the entire roof. I sprayed them down with a rust reformer to try and provide a layer of protection.
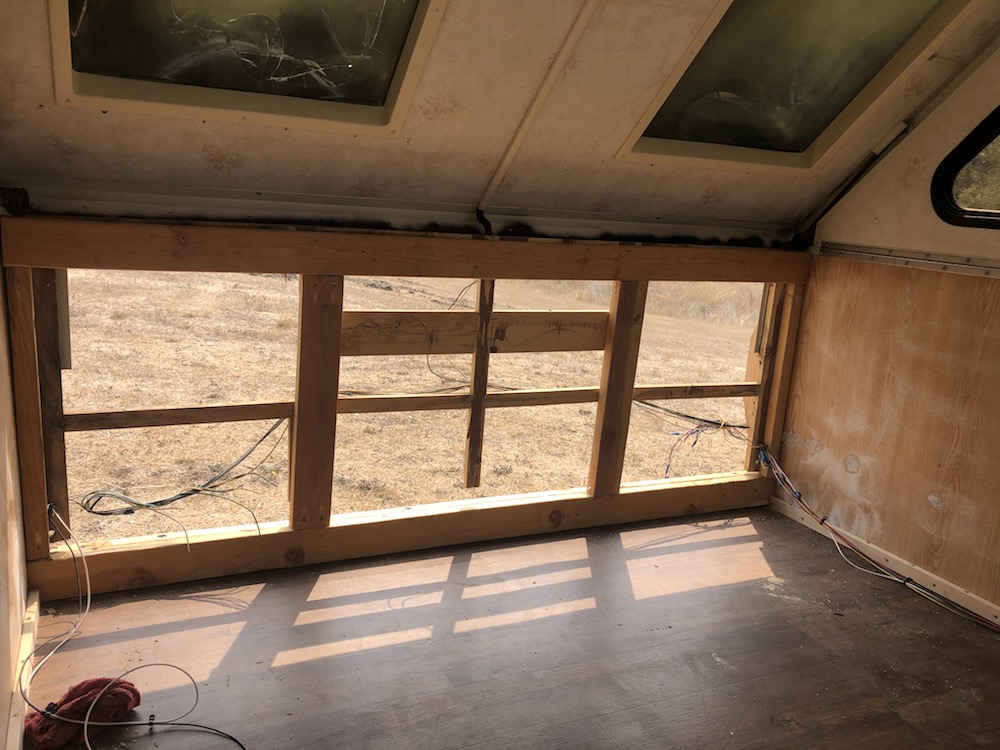
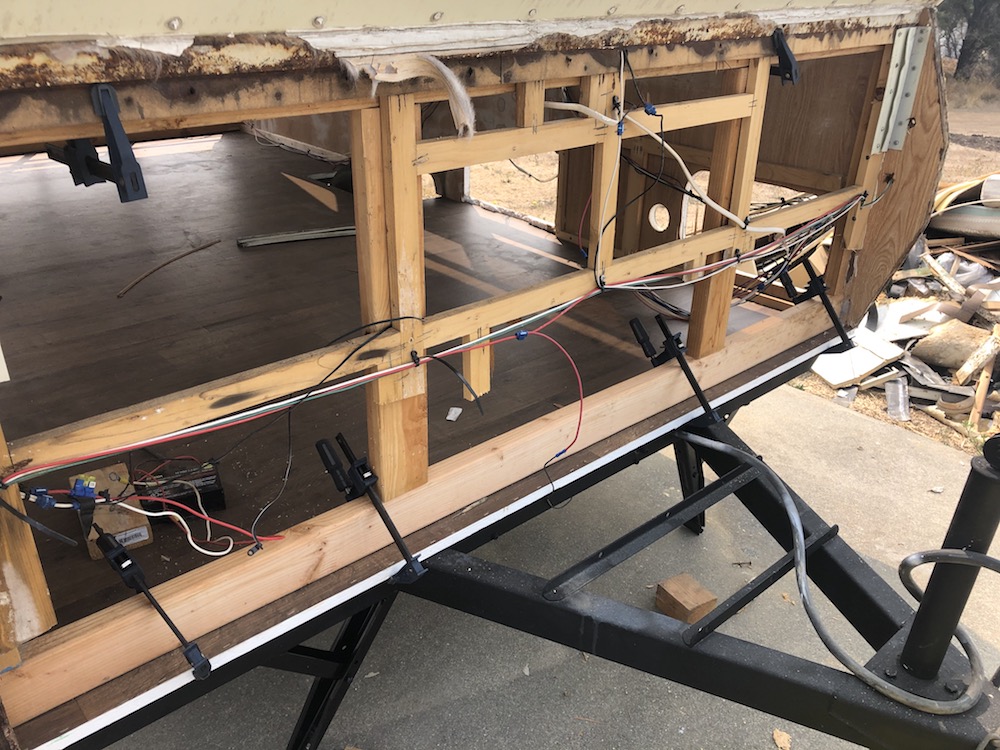
I ended the day by building a wall out of some leftover 2x4s and 2x2s. The remains of the original wall at the rear just couldn’t be repaired and I decided that sacrificing two inches of floor length on the inside was worth knowing the whole thing wasn’t going to collapse. The wall I built allowed us to add two more giant screws at the top of the sidewall, which once added made the trailer sit up like new. All the latches inside were once again aligned and the door would close and latch perfectly (which hadn’t happened since we bought it). I was inside the trailer when my husband added the screws into the studs. It was amazing to watch the whole trailer shift and become square with one screw.
Adding Even More Structure
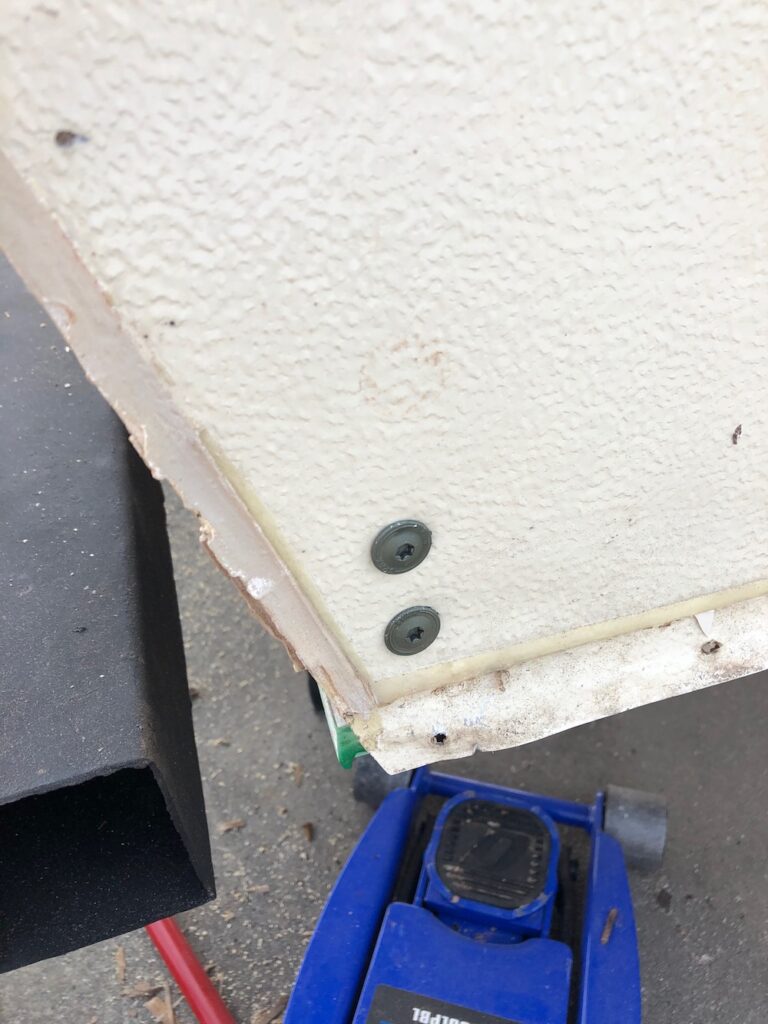
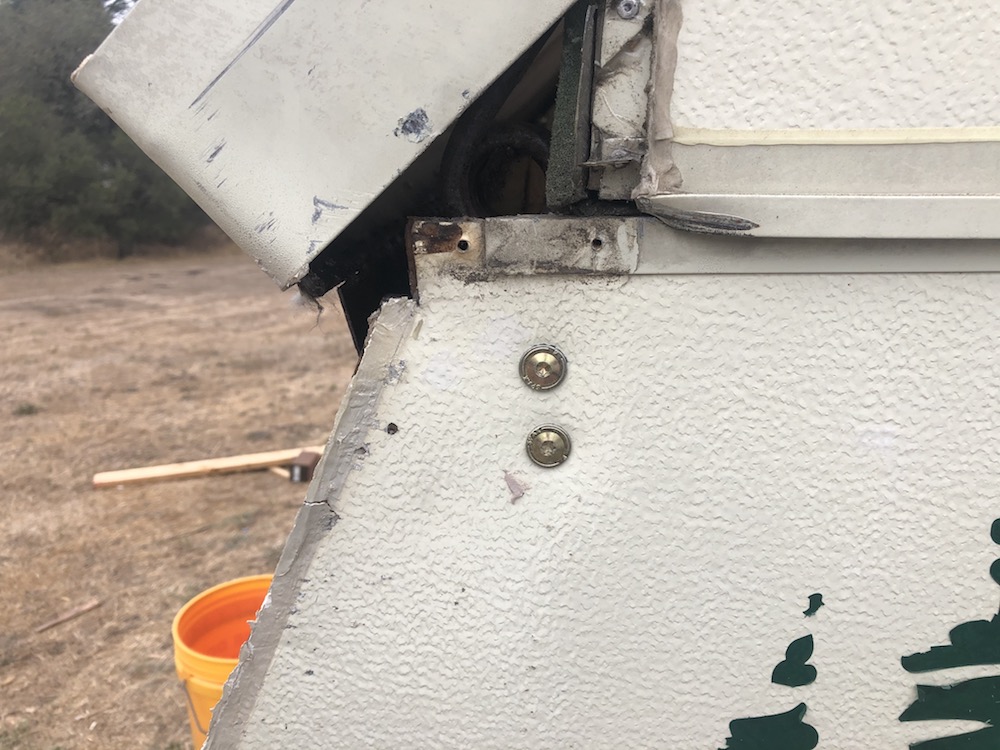
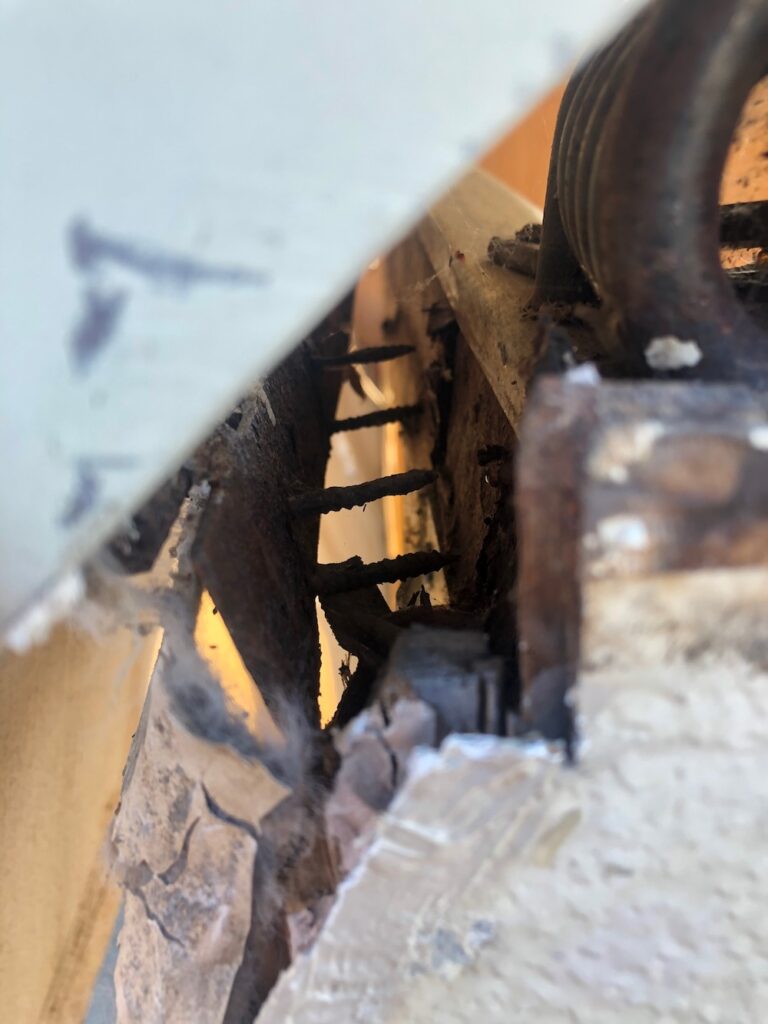
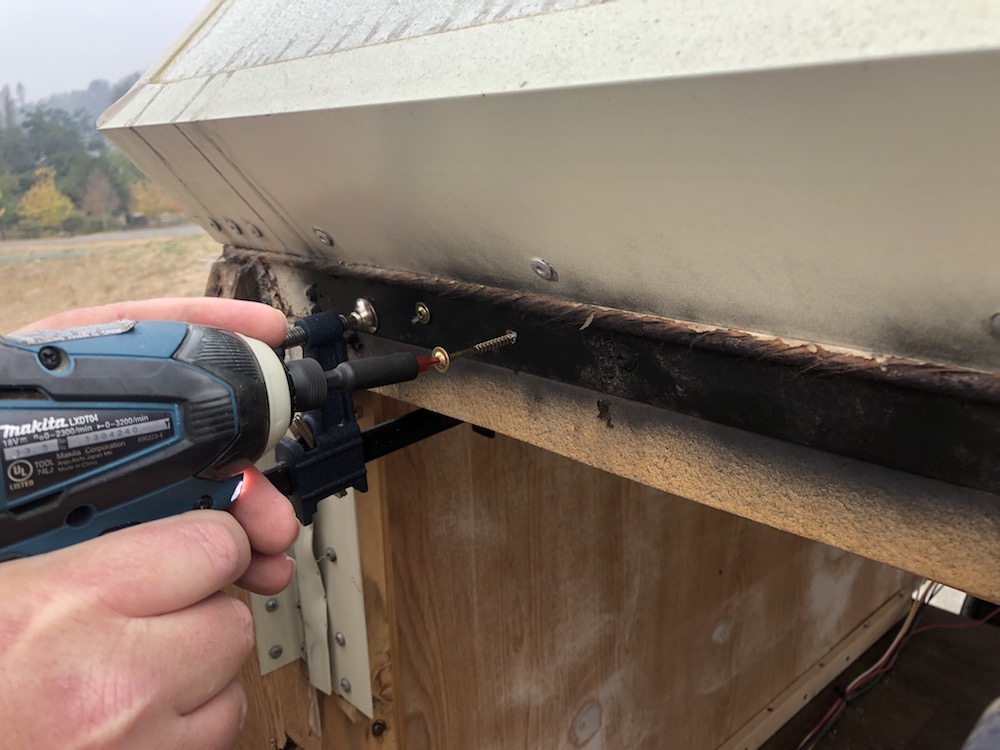
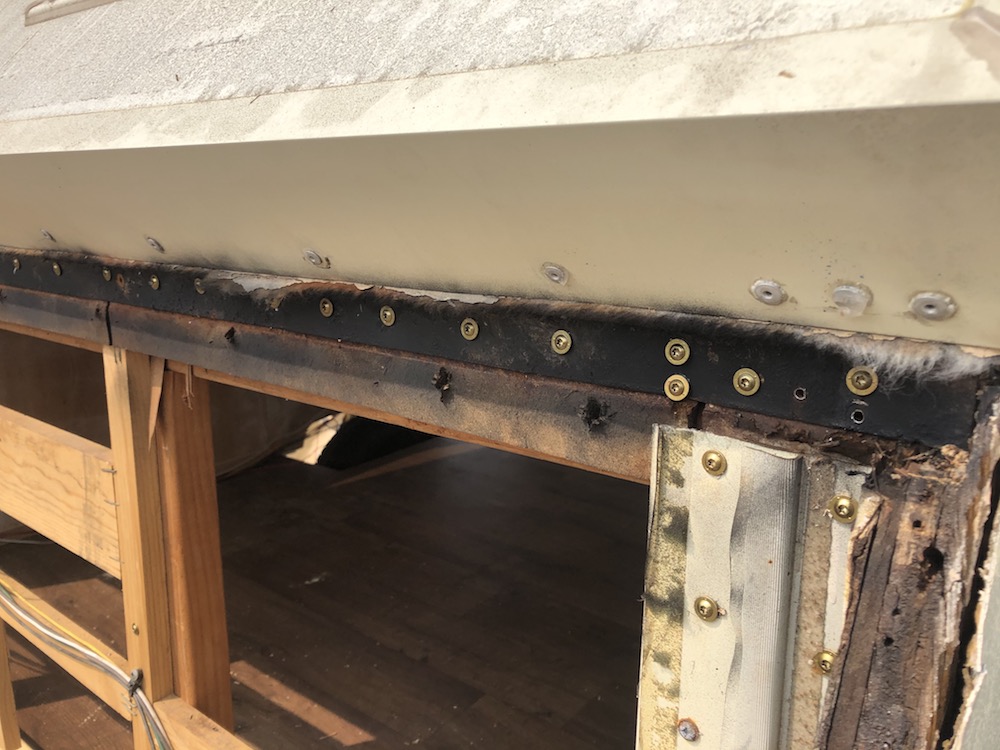
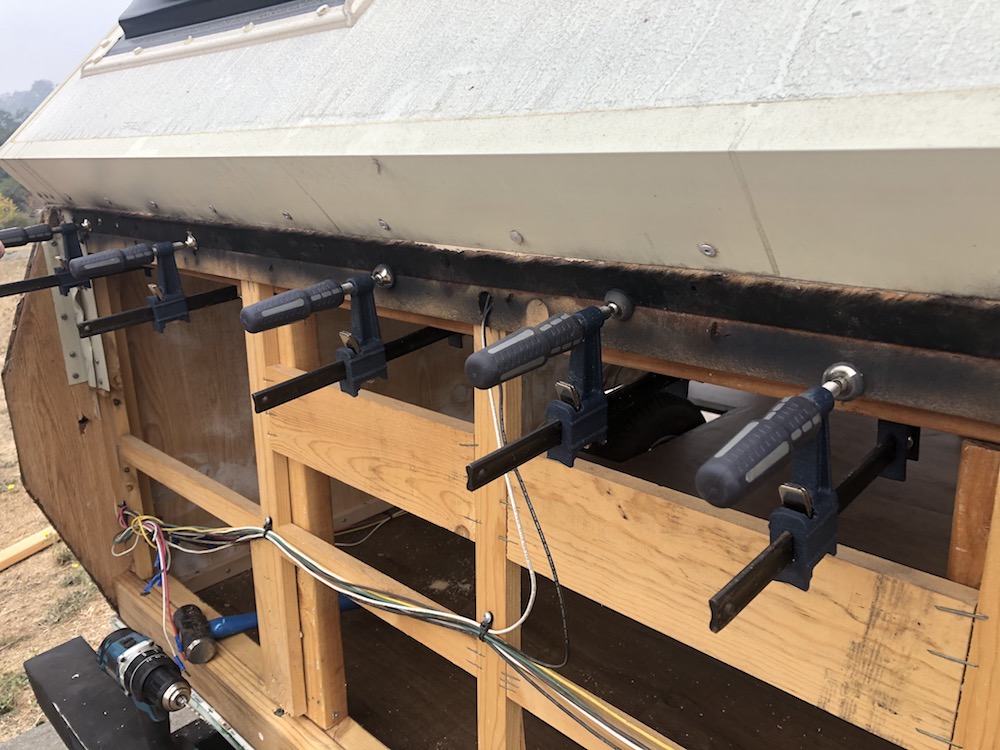
The 2×4 wall I added to the rear of the trailer also allowed us to reinforce the hinge. I clamped everything together and we added a bunch of screws along the length of the hinge. We started at the end where the hinge was still fully attached and closed the whole thing up like a zipper. Now that the walls were square the hinge fell correctly back into place. When we got the trailer the hinge had separated at least an inch at the rear corner that had been damaged (first photo below).
I decided that since the rear wall had been so successful, we should go ahead and replace the fungus rotted wood at the front the same way. The new wall at the front came together quickly as it was the second one I had done. I clamped everything in place and we added screws in the same way – into the floor, from the outside in at the top and bottom of the wall, and through the hinge. The entire trailer feels so secure and square now. I can’t believe they built the original out of such flimsy wood. I spent the remainder of the afternoon cleaning up tools, folding up the trailer, and wrapping it in a giant tarp. With fires approaching at home in Santa Cruz and also up here, and the extreme winds we had last fall, I knew I wouldn’t be working on the trailer for a while. It was nice to wrap it up all secure knowing that she wouldn’t blow over.
Expenses (Only includes project-specific items – tool investments don’t count)
Current Total: $2552.66
- Trailer – $2000
- Wood Hardener – $12.98
- Paintbrush – $1.07
- Rust Reformer Spray Paint – 3 Cans – $19.74
- Undercoating Spray Paint – 5 Cans – $22.40
- JB Weld – $5.67
- Wood Filler – Leftover from other project – Free
- Blasting Grit – Fine – 2 bags – $19.98
- Shop Paper Towels – $4.98
- Marine Grade Plywood – 3 Sheets – $266.73
- RV rubberized roof paint – $59.98
- Metal Tapping Screws –
- Spackle – Free- leftover from another project – Free
- Vinyl Sheet Flooring – $93.21
- Flooring Glue – $39.99
- 8 Large SPAX Screws – $5.93
- Cabinet Screws – Leftover – Free
- 2×4 & 2×2 – Leftover – Free

