Saturday – Building and Sealing new Subfloor
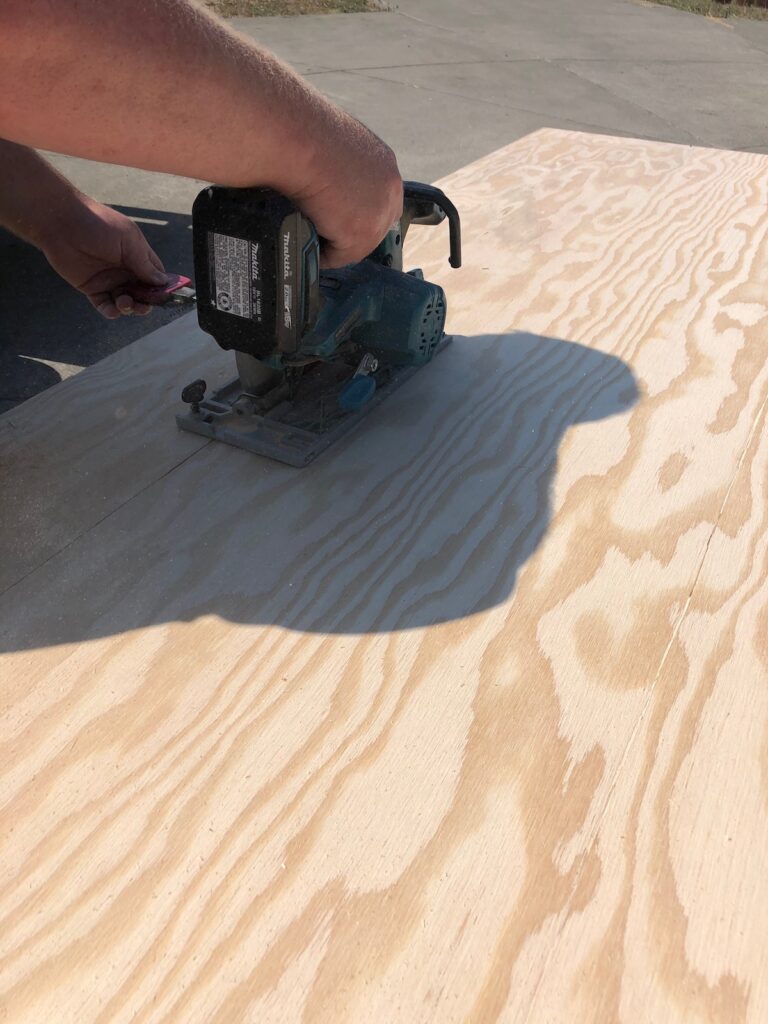
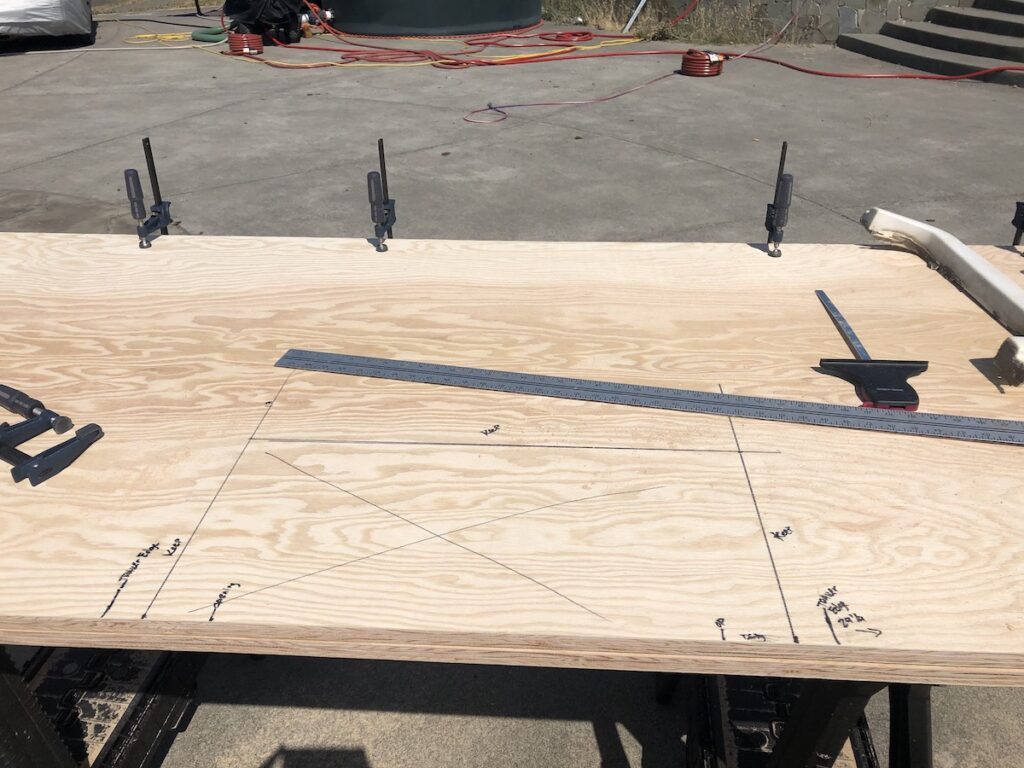
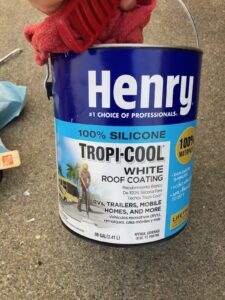
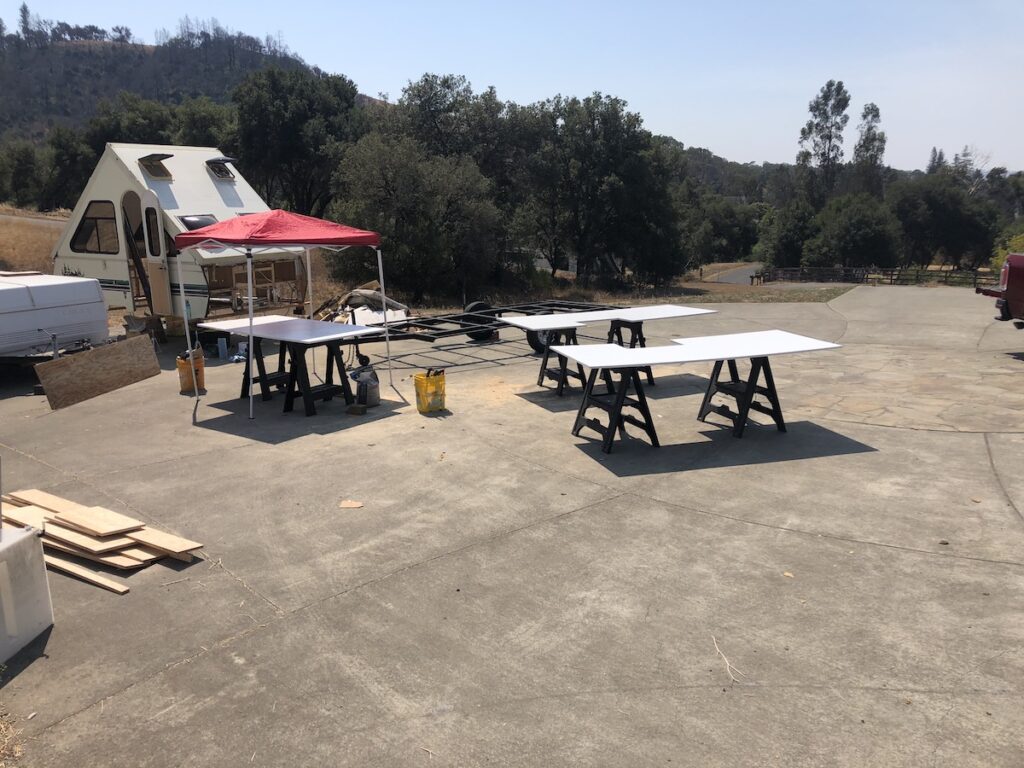
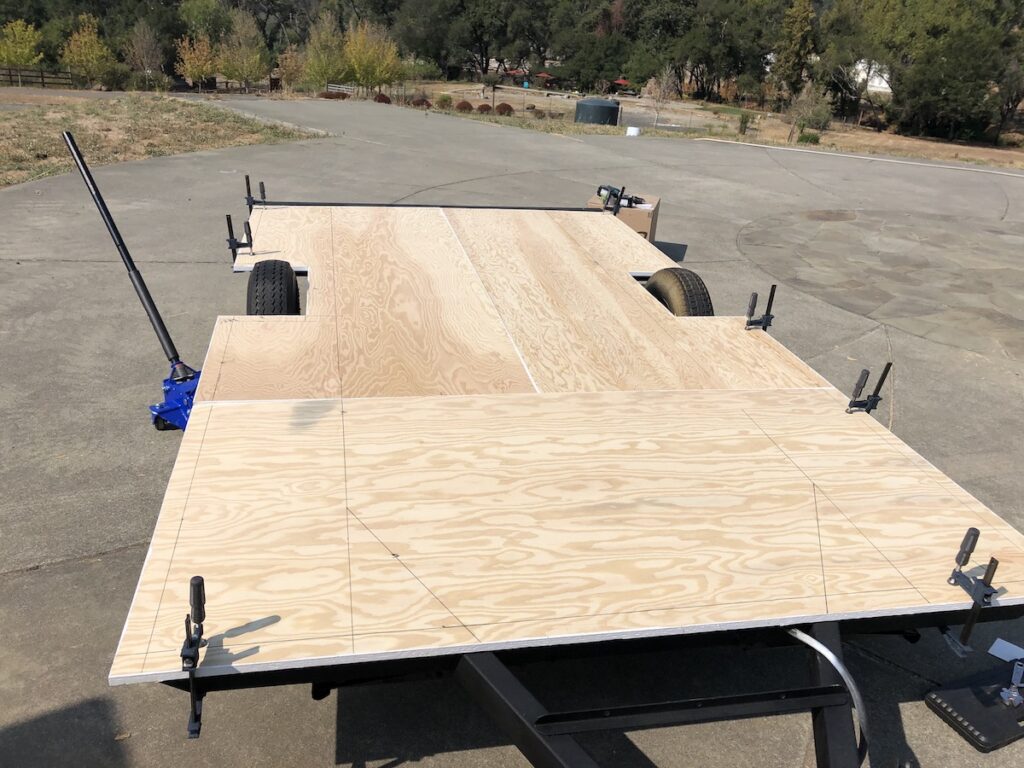
Labor day weekend finally arrived and that meant an extra day to work on my project. Friends were planning to come up on the 6th to hang out in the pool and go to dinner so we tried to get to work early Saturday. First was a trip to the lumber yard to buy some marine-grade plywood to use for the floor. The lumber was much more expensive than we anticipated at $88 a sheet, but my mantra continues to be that I am NEVER doing this again so I am going to do it right. I did a ton of measuring and drawing out what we needed to cut on the plywood. We needed to accommodate the wheel wells while making the length of each section work so the seams would like up on the trailer frame correctly. After carefully measuring two or three times we cut all of the pieces and laid them on the trailer for a test fit. I had purchased a can of “liquid rubber” on Amazon but it never arrived and was refunded. We found a can of RV roof waterproofing at the hardware store and decide to use it instead. I painted all the plywood that would be facing the road and the edges with the rubberized paint. It cured quickly as it was over 100 degrees again.
Sunday – Attach Subfloor to Frame
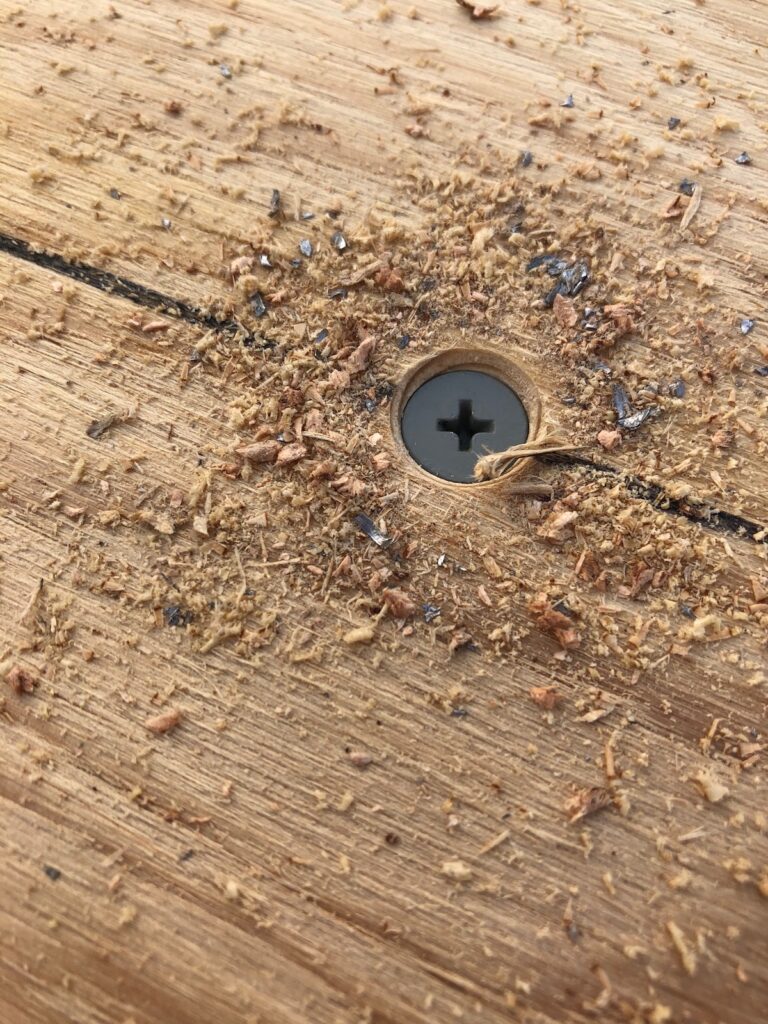
We knew we only had a few hours to work this morning as our friends would arrive by noon. We laid the flooring rubber side down on the trailer and marked where all of the steel frame rails of the trailer were located. My husband drilled pilot holes and countersank large screws all over the floor. We attached it about every 12-18 inches ending up with around two dozen screws anchoring the floor to the frame this was a serious upgrade compared to the four bolts that were used before. I vacuumed all the sawdust and filled the holes with spackling. That was all the time we had and the spackle would have to dry for a few hours anyway.
Monday – Vinyl Flooring and Putting Her Back Together
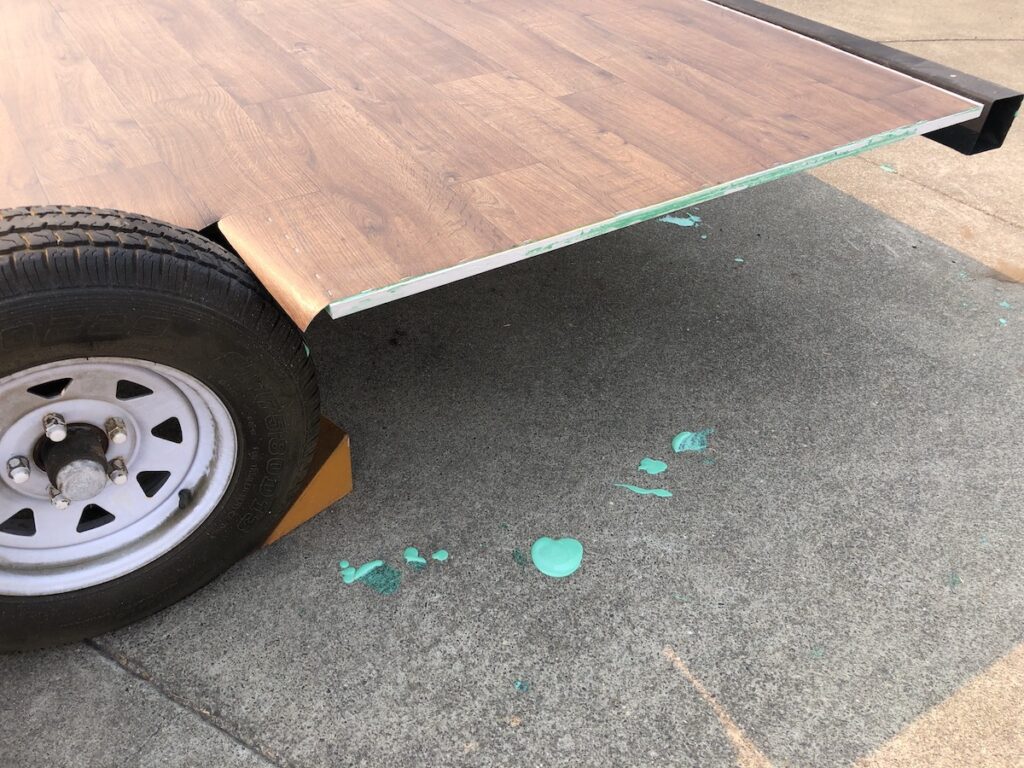
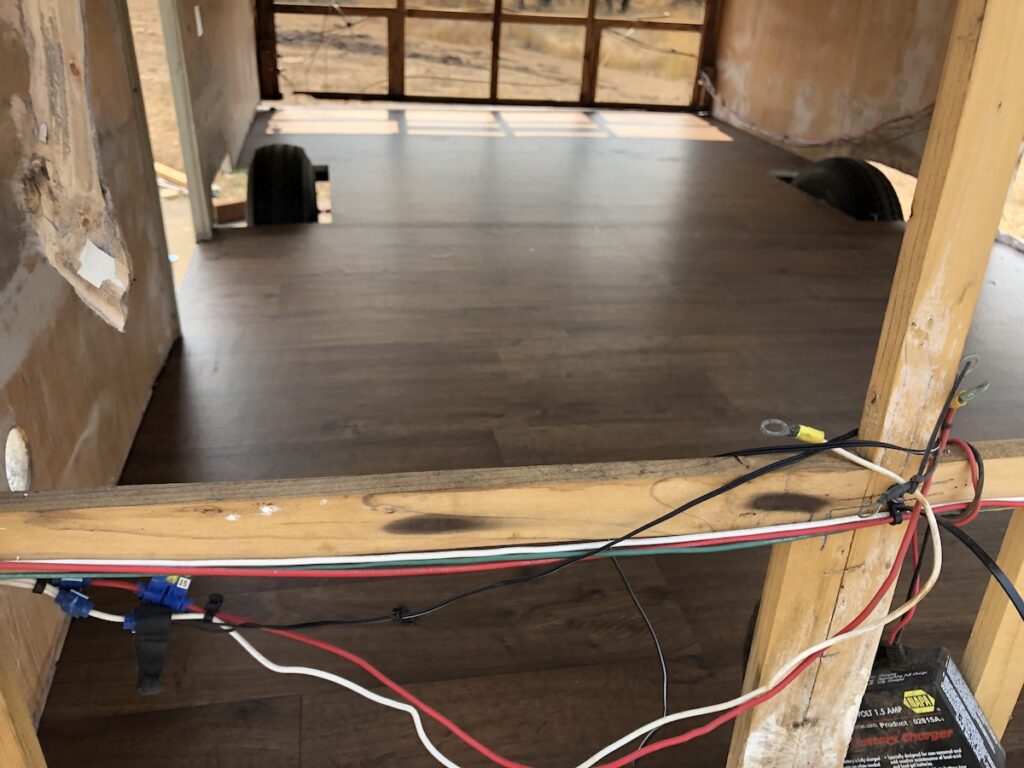
Today was a huge day for our project. After sanding down the dried spackle from yesterday we attacked the vinyl flooring. I decided to buy one giant piece of vinyl flooring hoping to make it as waterproof as possible. We laid the flooring down on the newly attached plywood and proceeded to attach it with flooring glue. Once on the glue, we used a floor roller to smash it down and then stapled along the edges. We used a packing knife to trim around the wheels as we worked our way down. We followed the directions on the flooring glue but ended up with way too much on the surface and it was squishing out everywhere. It made a horrible mess and I got very frustrated and emotional thinking it wasn’t going to work. Somehow we managed and it looked so good once we were done. The final task of the day before we could head home was to get the box of the trailer back onto the new floor. I don’t have any pictures or videos of us in the process because it was so stressful. It had been so easy to remove the trailer because at any point I could set the jacks and 2x4s where I wanted. There was no floor to get in the way so I had a ton of access points. As we rolled the trailer back under we realized the only spots we could stabilize were on the outside. This was pretty stressful and there may have been a little arguing and a few tears. We worked together through it all and with some brute force, my husband saved the day. I would not recommend this approach unless you remove the roof panels first, have more jacks, or have a dozen people at your disposal lift it and put it back in place. We did catch the vinyl on a screw that we didn’t see, but it didn’t tear completely and the spot will be way under the bed. I plan to repair it once I find the right goo to do so. The floor glue was still squishy underfoot and I left some footprints in the trailer. I used the roller to smooth them out and a couple of weeks of hot days will hopefully tighten everything up.
Project List/Completion Date
- Remove Appliances & Sink – 8/2/2020
- Remove cabinet by the door to access destroyed wheel well – 8/2/2020
- Remove and kitchen cabinets to make room for bed frame – 8/2/2020
- Remove Jackknife Sofa and replace it with a full-size bed frame and mattress we already have 8/9/2020
- Remove Water Tank and Lines 8/9/2020
- Remove Dinette – 8/9/2020
- Remove end panels 8/15/2020
- Remove the entire floor and pull the trailer out from under box – 8/29/2020
- Sandblast and repaint trailer – 8/29/2020
- Fill all holes in walls with epoxy putty – 8/30/2020
- Add new trailer stabilizers 9/6/2020
- Build new subfloor and seal road side 9/6/2020
- Attach subfloor to Trailer and glue down sheet vinyl 9/7/2020
- Sew new window coverings
- Replace one broken bubble window, clean the other three
- Repair busted corner and reseal
- Replace busted Wheel Well
- Replace the tires
- Repaint entire interior
- Repaint Exterior and add new decals
Expenses (Only includes project-specific items – tool investments don’t count)
Current Total: $2546.73
- Trailer – $2000
- Wood Hardener – $12.98
- Paintbrush – $1.07
- Rust Reformer Spray Paint – 3 Cans – $19.74
- Undercoating Spray Paint – 5 Cans – $22.40
- JB Weld – $5.67
- Wood Filler – Leftover from other project – Free
- Blasting Grit – Fine – 2 bags – $19.98
- Shop Paper Towels – $4.98
- Marine Grade Plywood – 3 Sheets – $266.73
- RV rubberized roof paint – $59.98
- Metal Tapping Screws –
- Spackle – Free- leftover from another project – Free
- Vinyl Sheet Flooring – $93.21
- Flooring Glue – $39.99

