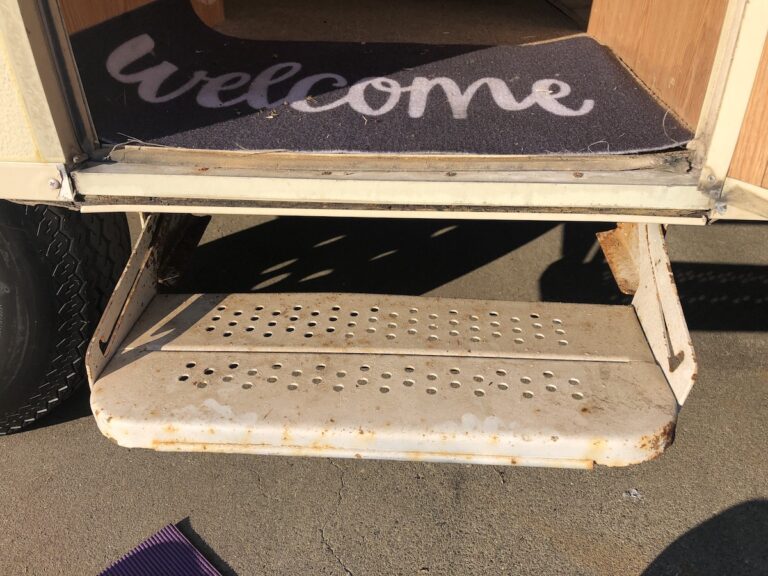
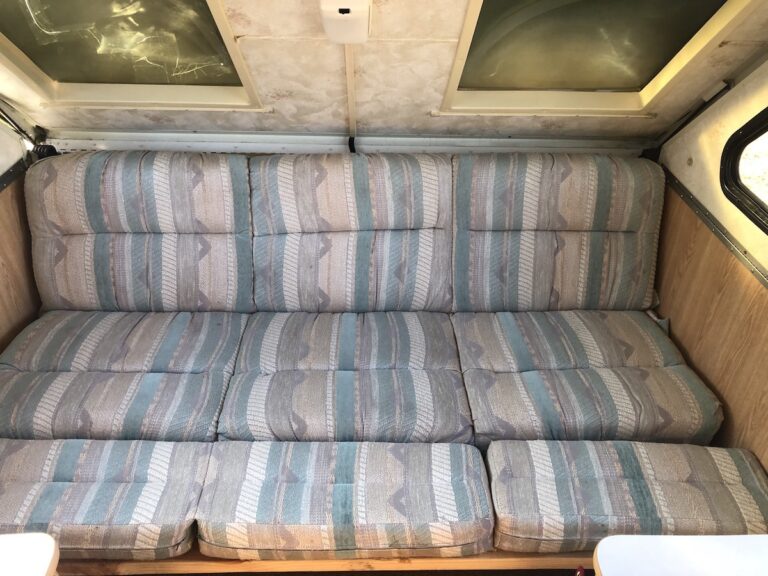
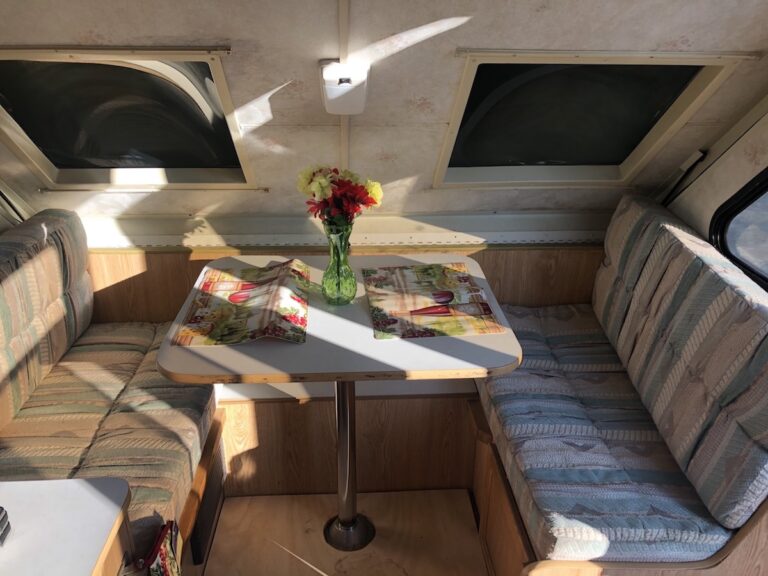
I started day two of this project by taking a ton of photos. I wanted to thoroughly catalog the “before” condition of the trailer, and also have a record of what all of the parts and pieces looked like should they need replacing. While taking photos and a closer look I started to make my remodel list, hoping to keep my entire budget around $1000 for the remodel. I figured I would use the spare bed we already had at home, the scrap wood in our inventory from other projects, and every leftover can of spraypaint or house paint that we have stockpiled in the garage.
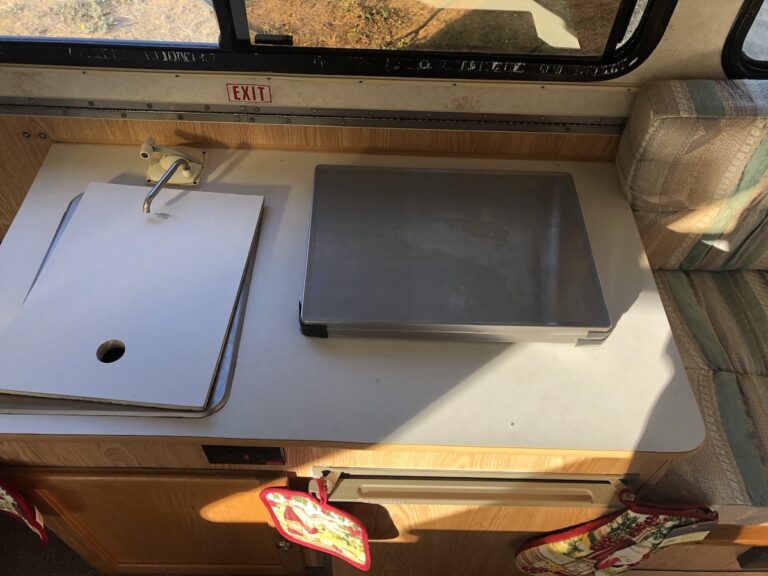
We also decided to remove the sink, water tank, stove, and refrigerator. We plan to use the trailer as a guest house so we figured we don’t need the appliances. Also, if we ever decide to take it camping we have both electric and propane versions of everything that we can use, including a plug-in cooler. I don’t want to consistently cook inside the trailer, and we like to try new restaurants when we are traveling anyway. Between our portable BBQ, electric skillet, and Coleman stove we have lots of options that don’t require hauling propane. We are not “Boondockers” and since the trailer doesn’t have a toilet we will need to camp in campgrounds most of the time anyway.
After a thorough inspection by 9:00 AM my remodel plan included:
- Replace sections of floor that are rotten and cover the entire thing with updated laminate or vinyl
- Repaint Exterior
- Remove Appliances & Sink
- Remove Water Tank and Lines
- Remove Jackknife Sofa and replace it with a full-size bed frame and mattress we already have
- Rebuild/Reinforce the dinette if necessary
- Repaint entire interior
- Sew new window coverings
- Replace one broken bubble window, clean other three
- Repair busted corner and reseal
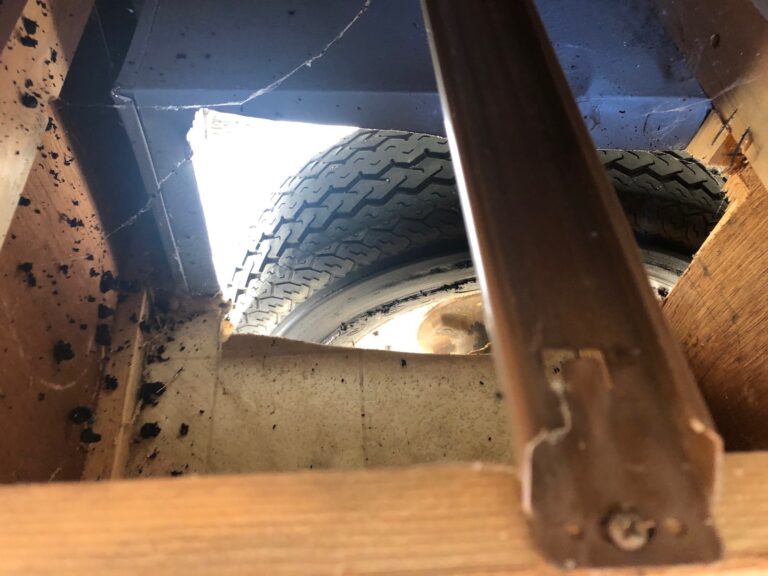
The cabinet was hiding a huge problem. The wheel well was gone – well at least the long side of it. I could see the tire, and right outside of the trailer. The cabinet was full of nasty black stuff that I quickly realized was the side of the passenger side tire. I realized in that moment that when the trailer had shifted as I was driving it home, it had moved so far over that the remaining chunk of the wheel well was slowly removing layer upon layer of rubber. The trailer must have had a blowout at some point and the solution the seller came up with was to chop out a section of the floor and wheel well, and glue the cabinet shut. I am so grateful that we didn’t have any further to drive, we could have had a very dangerous tire blowout. It was a very disappointing find, and a big addition to the repair list.
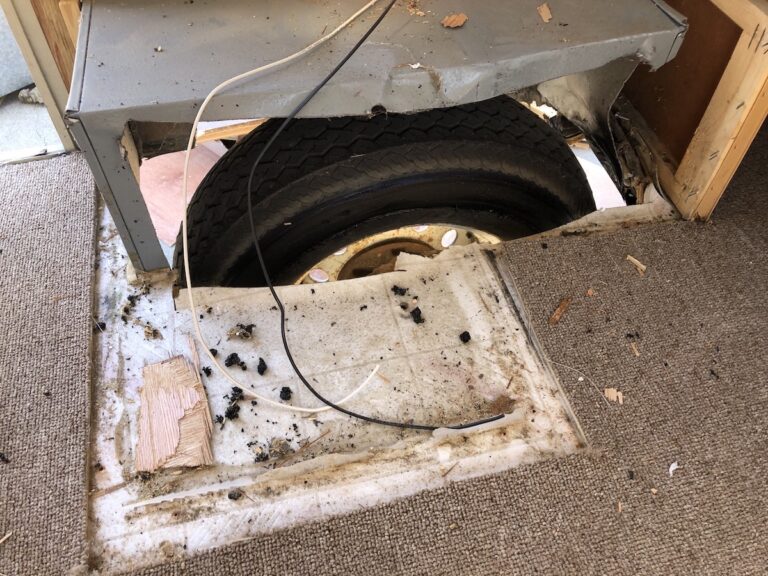
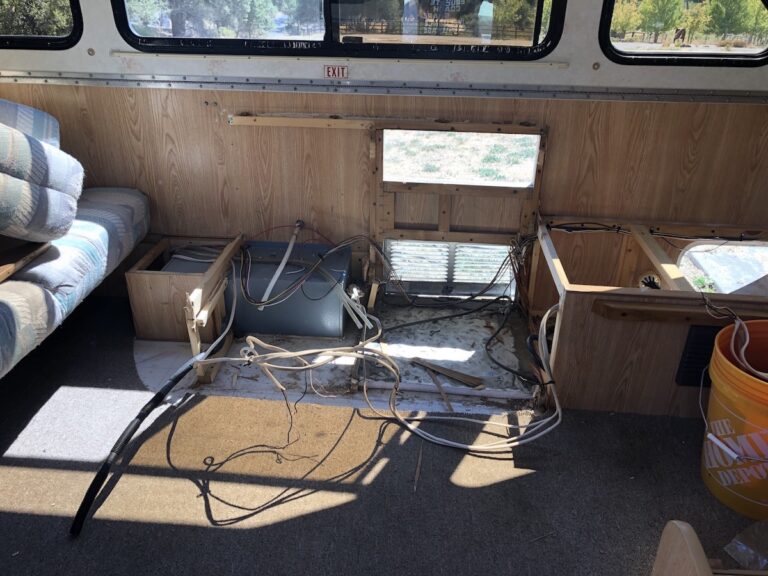
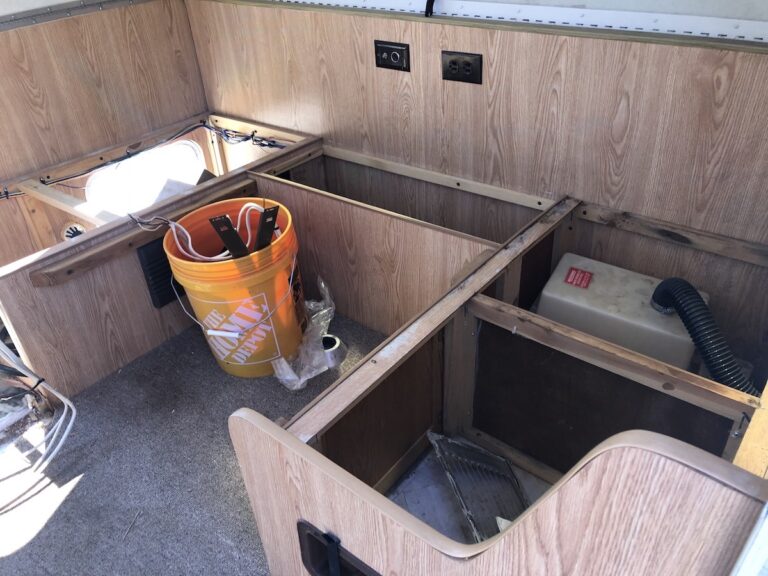
A little discouraged but still very excited, I spent the remainder of the day removing as much of the cabinetry and other wood supports as possible. The bed we plan to add will not fit with the kitchen cabinets so I decided to just remove those as well. They had so many holes in them for the appliances it didn’t make sense to leave them. Everything was stapled together with a million staples and glued to the walls with a rubbery sort of thick glue. I managed to extract all the appliances out of the trailer, as well as the cabinet hiding the tire problem. It is super hot here in August so by the time the late afternoon arrives it is just unbearable to work outside. I put down my tools and went for a swim to end the day.
- Replace sections of floor that are rotten and cover the entire thing with updated laminate or vinyl
- Repaint Exterior
- Remove Appliances & Sink – 8/2/2020
- Remove Water Tank and Lines
- Remove Jackknife Sofa and replace it with a full-size bed frame and mattress we already have
- Rebuild/Reinforce the dinette if necessary
- Repaint entire interior
- Sew new window coverings
- Replace one broken bubble window, clean other three
- Repair busted corner and reseal
- Replace Wheel Well, chunk of flooring and maybe the tires
- Remove cabinet by door to access destroyed wheel well – 8/2/2020
- Remove kitchen cabinet to make room for bed frame – 8/2/2020
Expenses:
- Trailer – $2000

